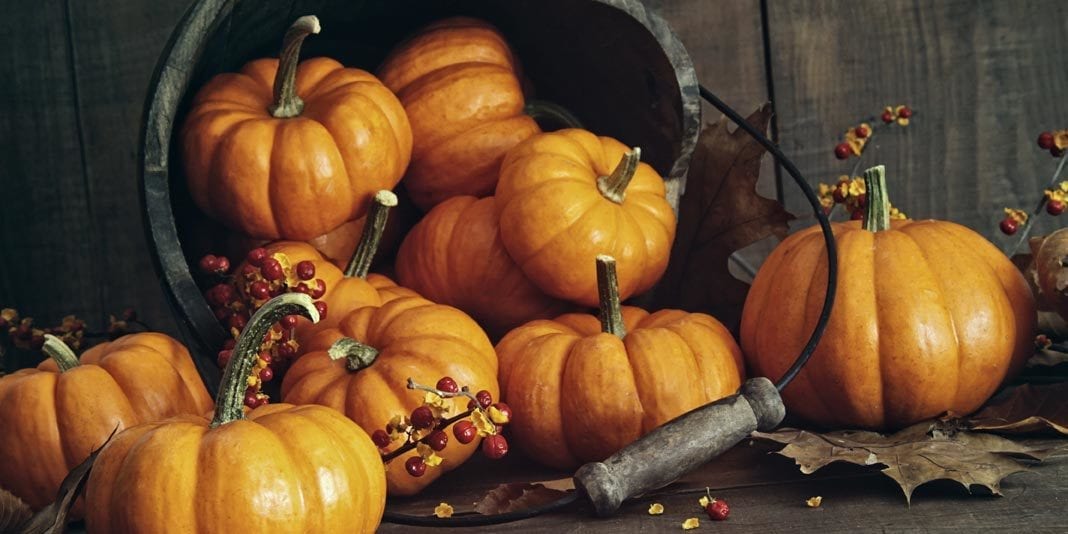
Fall is the bountiful season of pumpkins. And pumpkin decorating isn’t only for Halloween. They make fantastic Thanksgiving and general fall season centerpieces.
It only takes a few tips and tricks to master the art of painting a pumpkin like a pro. So grab a pen and paper and start making your decoration plan. Here are five useful tips that will help you paint a pumpkin like a pro.
Find the Right Sized Pumpkin:
Before you jump in with all your equipment, you need to determine what size pumpkin you want based on the complexity of your design. Depending on how you want to paint it and how much space you would need for designing and decorating, get yourself the right size that would fit everything on it.
Clean It Well:
This is the most critical part, especially if you’re picking your pumpkin from a farm field. Use sanitary napkins or a wet cloth to gently wipe off the dirt and germs from the pumpkin to prepare it for the painting process.
Use A Sealant to Prepare the Surface of Pumpkin:
Using a brush sealant or aerosol is a must since the paint settles much better on a primed surface. Directly painting onto the natural surface of the pumpkin will be much bumpier, and the colors might not stick as well.
Use Good-Quality Paints and Brushes:
Make sure to get some high-quality paint, so your design stands out. Getting cheaper paint might seem tempting, but you’ll be setting yourself up for failure.
Google Some Designs That You’d Like to Make on Your Pumpkin:
The last tip is to Google your desired drawings that you would like to paint on your pumpkin. This will make things a lot easier, and you’ll have a better visual to paint onto your pumpkin easily. If you’re having some trouble, Pinterest is another excellent go-to source for painted pumpkin inspiration.
Now go get your pumpkin and stun everyone with your stunning skills!


