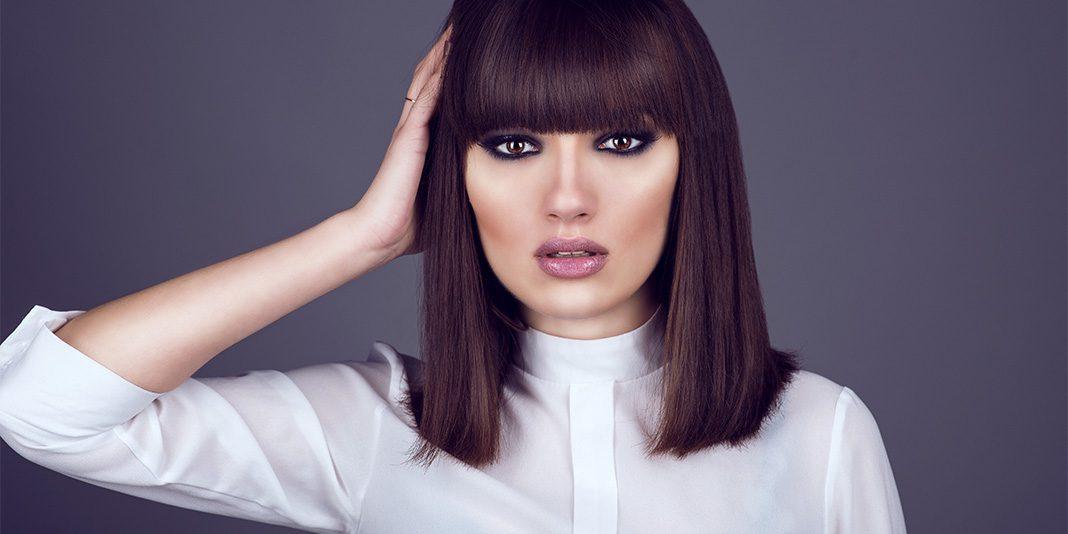
It’s been said that not everyone can look like a model—except they can: a pinup model, that is.I learned this firsthand when Bettina May brought her Pin-Up Class to The Atlanta School of Burlesque. The NYC-based model, burlesque performer, beauty coach and photographer taught our eager class of pin-ups-to-be how to create classic 50s-style makeup and several hairstyles from the period. The era’s look continues to grow in popularity; burlesque performer Dita Von Teese helped reinvigorate the trend, Blake Lively, Katy Perry, Beyoncé and Madonna are just a few celebrities who have embraced it, and I think it’s safe to say that its hallmark cat eye is here to stay.I fell in love with pinup style when I discovered Bettie Page, which led me to the fabulous modern pin-up and burlesque stars like May. One of the style’s most appealing aspects is that it embraces women of all types, and there’s more good news: It’s easier to achieve than you might think. Pinup makeup is standard and straightforward, and the hair usually starts with a roller set and ends with one of a few simple variations (see details on both below). After our makeovers, we each had our own photo shoot with May, featuring figure-flattering pinup poses. Read on to get the tricks of the trade and see our transformations.Part 1: Prep Your HairTo get started, make waves if you don’t already have them. If you have naturally curly hair, use a setting lotion and wave clamps to coax hair into wave patterns. If you’re up for it or have curl-stubborn hair, you can use foam rollers on damp hair and leave them in overnight or until completely dry.Otherwise, for a quicker fix with dry hair as we did in class, break out a classic hot roller set. (Note: A curling iron doesn’t work as well as rollers.) This works for most lengths except super-short (but there’s still hope: see the “Accessories” section below for this type), since hair needs to be long enough to fit around a roller at least one and a half times. You may need to use small rollers throughout and leave them in longer if your hair doesn’t hold a curl well; otherwise, use smaller ones on top and larger ones on bottom.Hot-Roll Instructions:
- Part hair on your desired side
- Starting at the crown of your head, separate hair into 1/2-inch sections using the end of a rat-tail comb
- Comb through each section and spray with setting spray or medium-hold hairspray
- Roll the front section or bangs forward toward forehead, then roll the remaining sections away from your part
- Be careful not to let the ends get smushed on the roller, or your hair will be fuzzy
- Spray whole head with hairspray
- Let hair set for at least 30 minutes or until you no longer feel any heat in the rolled hair
 |
Part 2: Do Your Makeup While Your Hair Sets
- Apply foundation and concealer as needed to clean, moisturized skin
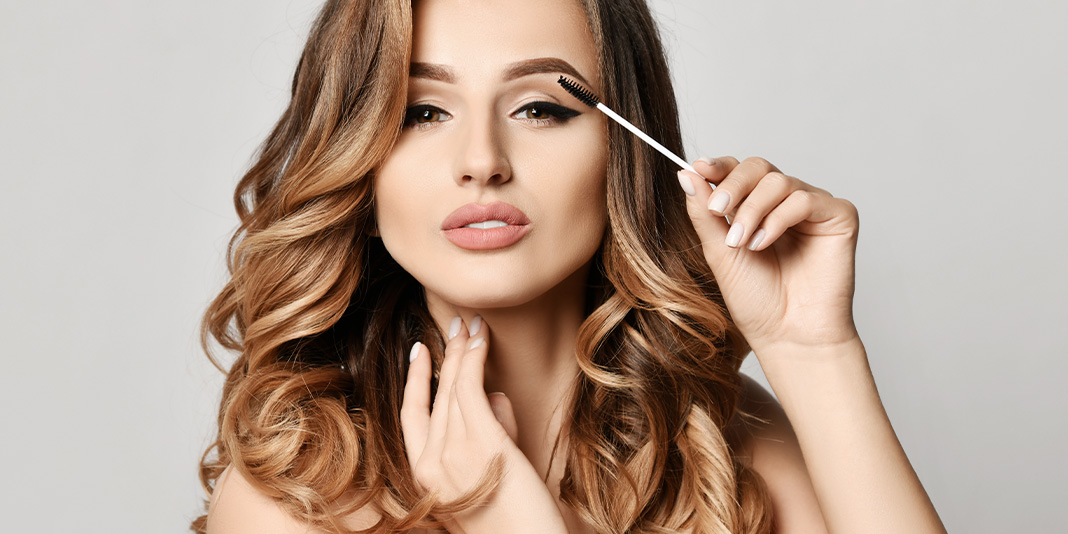
- Using your black liquid liner of choice (pot, brush or felt-tip), start by making a thick line from the center of the lash line to the outer corner of your eyelid. Tip from May: Most people have a harder time with one eye than the other, so start with your less challenging side since it will be much easier to match than the difficult one.
- Then make a thin line starting from the inner corner of your lash line, and bringing it over to meet the end of the thick line you made in the previous step
- Now for the cat-eye part, keeping in mind that the top of the cat-eye should point up to the outer end of your eyebrow. Make a tiny dot outside of each eye where you want the cat-eye line to end. The length is totally up to you, but try 1/4 inch to start; make sure the dots match on each side, then make a line from the dot to the end of the thick line at the outer corner of your lash line
- When liner is dry, apply mascara to top lashes only. For added effect, apply false lashes.
- Define your brows with a shade slightly darker than your natural color. Either go over them with a brow pencil, or apply a powder eye shadow using a hard-angled brush.
- Apply blush. You’re going for a slightly flushed look, so choose a pink or coral shade (either cream or powder formula depending on your preference) similar to your natural blushing tone. Apply while smiling, starting from the roundest part of your cheek near your nose and going outward toward the top of your ear. Be sure to blend well to make it look natural.
- Line and fill in your lips with a red lip pencil, then apply matte red lipstick (they didn’t do glossy lips in the 50s) directly or with a brush for better control.
Part 3: Style Your CurlsOnce hair is no longer warm at all, remove the rollers. If you want defined curls, rub a tiny bit of oil (May likes The Body Shop Coconut Oil Hair Shine) onto your fingers and pull them through sections of hair. Raking through with fingers more spaced out will create bigger curls, while keeping fingers closer together will make smaller ones. If you prefer smoother waves, brush through curls until they fall into wave patterns. If you have bangs, you can blend them with the rest of your hair and proceed as described below, or separate them and blow dry them straight if they’re short, or use a curler or two for longer bangs to make puffy 50s bangs. Spritz with hairspray to finish.Click below to see details on each hair variation as shown on me and two fellow pinup pupils!
 |
 |
 |

