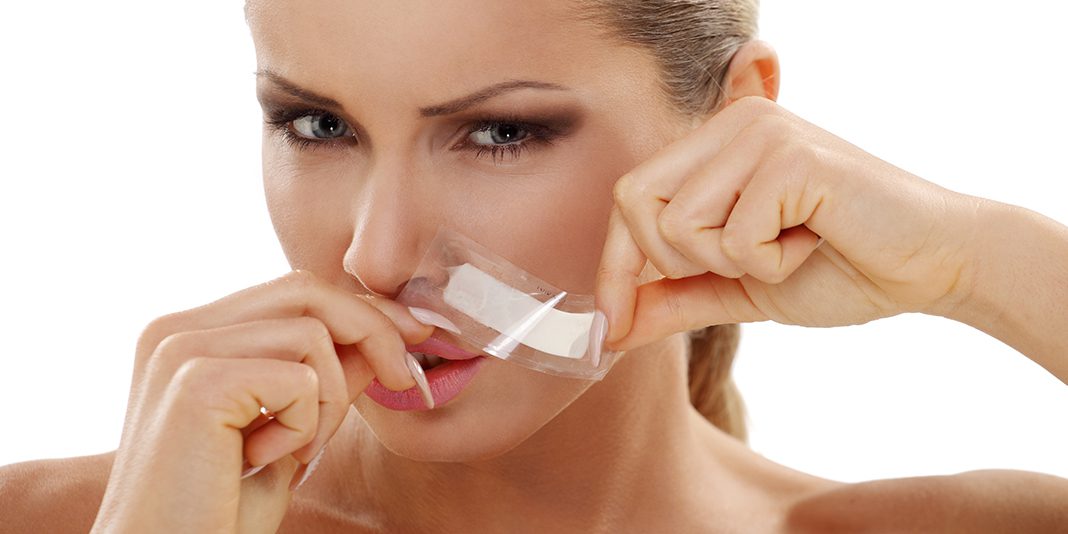
Waxing can feel complicated, especially when treating a delicate area like the upper lip. However, waxing can provide long-term, smooth results because it will pull hairs out directly from the root.
How can you wax the upper lip with ease?
Step-by-Step
1. Wash Hands
While your wax is heating up, it’s crucial to ensure your hands are free from bacteria and the skin is prepped. Washing your hands thoroughly will decrease the risk of irritation and infection, especially when waxing on a delicate area like the upper lip.
Some people may wear gloves as an extra safety precaution for any waxing service.
2. Cleanse & Lightly Exfoliate
After cleansing, ensuring the upper lip area is dry and free from any natural oils is essential. Another helpful tip is to use a pre-wax cleanser and a powder to fully prep the skin for a wax. This helps the wax gran onto each hair on the upper lip.
3. Dry Area & Pre-Wax Products
After cleansing, it’s essential to ensure the upper lip area is dry and free from any natural oils. Another helpful tip is to use a pre-wax cleanser and a powder to fully prep the skin for a wax. This helps the wax gran onto each hair on the upper lip.
4. Apply Wax in Direction of Hair Growth
Each type or brand of wax may have different directions, so always read your instructions beforehand to achieve a seamless result. However, a standard tip is consistently applying the wax in the same direction as your hair growth.
One article from Byrdie states, “apply wax evenly in the direction of hair growth using an applicator to the first outer section…you want enough wax to thoroughly cover hair, but not for it to be so thick that it becomes difficult to remove.”
It can help to work in sections, especially if the upper lip hair grows in multiple directions.
5. Pull in Opposite Direction of Hair Growth
When it’s time to remove the wax, you’ll want to pull it in the opposite direction of the application and hair growth. Also, you will either pull it off with a cloth strip or the wax itself, depending on what type of wax you’ve applied.
Byrdie states, “hold the skin taut with one hand, and remove the strip in the opposite direction of hair growth in one quick pull, all the way to the other side…press your hand down on the skin to relieve some of the pain after the strip is removed.”
Pulling in the opposite direction ensures all the hair is removed directly from the root for a smooth result.
6. Tweeze Extra Hairs
While you may be tempted to re-wax the same area to remove remaining hairs, it can cause extra irritation. Instead, grab a pair of tweezers and gently pull the hairs from the root. This technique eliminates stragglers without reapplying hot wax to a sensitive area.
7. Apply Aftercare
Finally, you’ll want to apply some post-wax products. An oil can be helpful to dissolve any wax residue on the skin. It’s normal for the skin to look red and irritated. However, an aloe vera or ceramide-based product can soothe the upper lip.
Aftercare is crucial because it ensures proper recovery of the upper lip and promotes bump-free results.
Popsugar says to “avoid touching the area to ensure oils and bacteria on your hands don’t irritate the skin.” So, it’s best to leave your upper lip alone.

