The underpainting technique isn’t new and has been used by celebrity makeup artists like Mary Phillips and Scott Barnes for decades. This makeup method allows anyone to achieve the ultimate sculpted and glowy complexion.
The secret? Applying your products in a different order.
Who is Mary Phillips?
Mary Phillips is the artist behind your favorite celebrities’ glam looks, including Hailey Beiber and Kendall Jenner. This technique involves contouring before applying your foundation rather than on top.
She stated in one article from Grazia, “To me it makes more sense. It’s like laying down the bones under the skin. So the contour and highlight bening the bones and the skin being the foundation.”
Achieving a red-carpet-ready face can be effortless, even for makeup beginners.
Celeb-Approved Sculpted Face
Avid makeup wearers may already have all the products needed to learn the Mary Phillips Scultiping Technique. You’ll need your favorite bronzer/contour, concealer, foundation, powder, and blush.
1. Bronze/Contour
Step one is the “lay down the bones,” as Mary Phillips would say. Here is where you will sculpt and define your bone structure. Then, you can take your time to enhance and flatter your features or add extra warmth where you need it the most.
You can blend and sculpt as you usually would over foundation, except in this technique, it’s over bare skin. Once you’re happy with your contour, you can move on to concealing or highlighting.
2. Spot Conceal
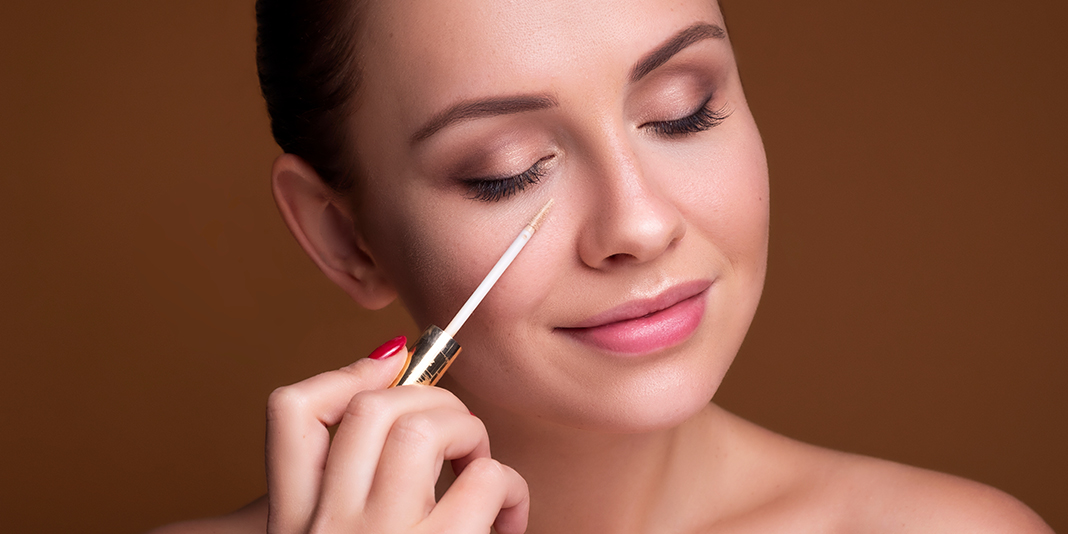
One significant advantage of this method is that you realize you need less makeup than you were initially applying. So you can spot-conceal or highlight wherever you find it necessary. Most people will focus on the center of the face or under your contour.
Again, blend it into the skin or let it rest for a few minutes for added coverage. You may look a little frightened, but Mary Phillips ensures to trust the process.
3. Buff Foundation
Finally, it’s time to watch the magic happen and apply your foundation. A pro tip is to buff or dab your foundation rather than swiping it to avoid moving the contour and highlight underneath. Also, patting the product ensures fuller coverage.
Another helpful tip is to use less foundation than you think you need. You’ll already have a layer of product on the skin, so a “less is more” approach can reduce cakiness. It also ensures that you don’t completely cover the contour.
4. Add Blush
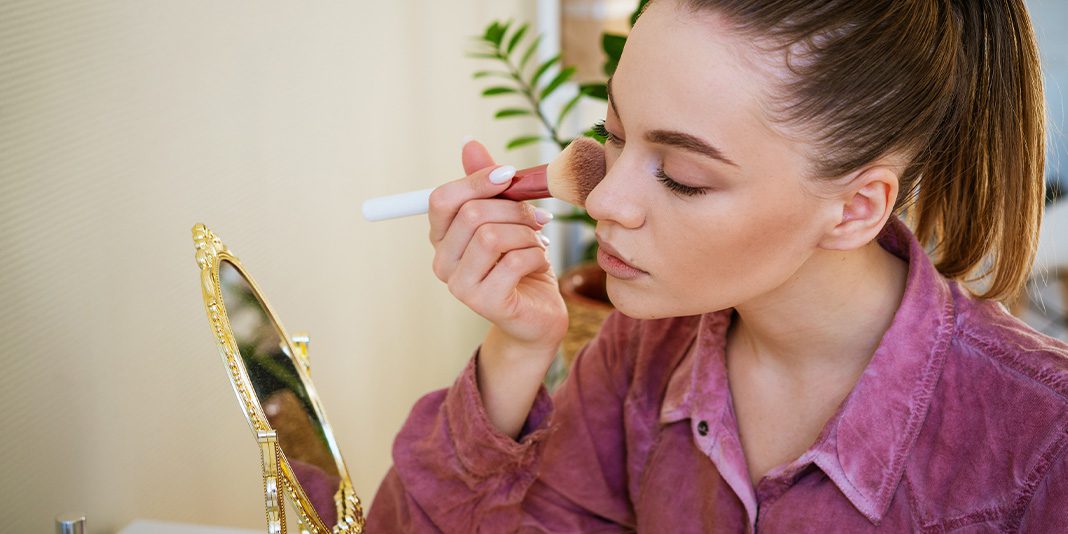
Now the foundation is applied, you can further add life and dimensions to the face with some blush.
The way you apply your blush can alter the structure of your face. For example, for a fuller appearance, use blush on the apples of the cheeks; for a snatched look, brush it back towards the temples.
Blush can act as another layer to the sculpted technique and add a light wash of color to the skin.
5. Set
Lastly, it’s time to set all of your hard work in place. You can dust a small amount of setting powder under the eyes and t-zone. This allows you to have a natural, glowy complexion without looking too greasy or dry.
You may also set it with a spray instead of a powder.

