You might be ready to commit to your loved one on your big day, but committing to the perfect wedding hairstyle might be an entirely different story. And a pretty ‘do for each member of your bridal party? Forget about it.
Thankfully, we spoke with celebrity hairstylist and creative director for L’Anza Healing Haircare, Ammon Carver, about beautiful, not-too-difficult styles that work for everyone at your wedding.
Read on for a few easy wedding hairstyles styles — both updos and loose hair — that work for brides and bridesmaids and are easy enough to do at home!
An Audrey Hepburn-Inspired Updo
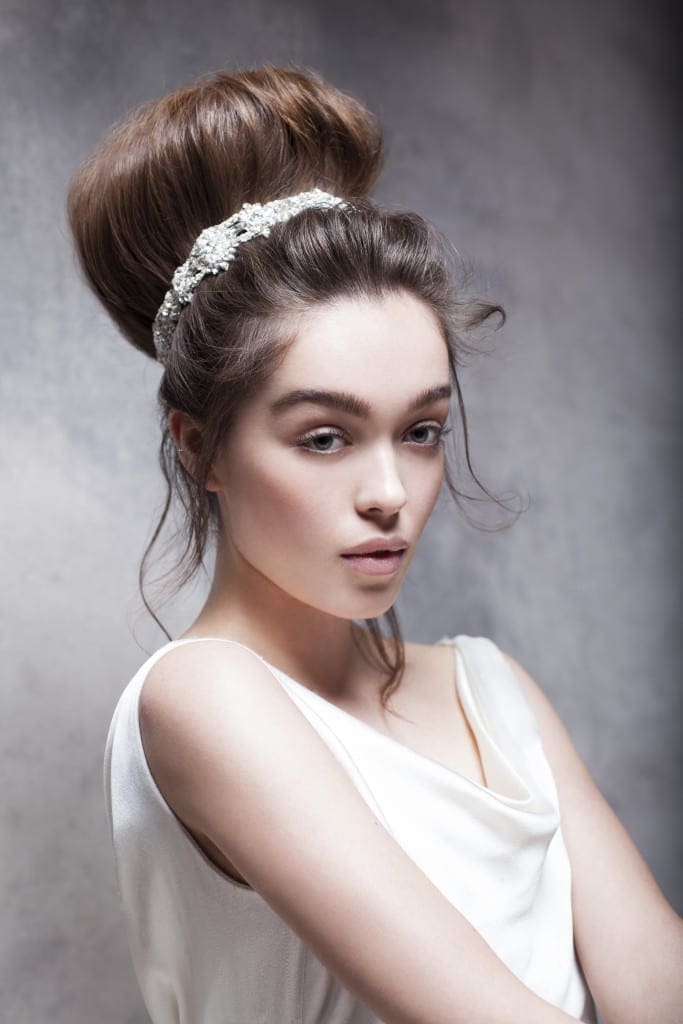
- Start by wrapping large sections of hair around a curling iron using L’ANZA Keratin Healing Oil Lustrous Finishing Spray and loosely brushing the curls out.
- Create a high ponytail at the crown of your head leaving the rest of hair out at the perimeter. Secure a large hair cushion/donut to the base of the ponytail with hairpins.
- Back comb sections of hair draping loosely over the top of the hair cushion/donut until all hair is pulled back and tucked into top of the cushion, keeping it soft and loose.
- Take your favorite headband and drape it over the top.
Half-Up, Half-Down Hairstyle
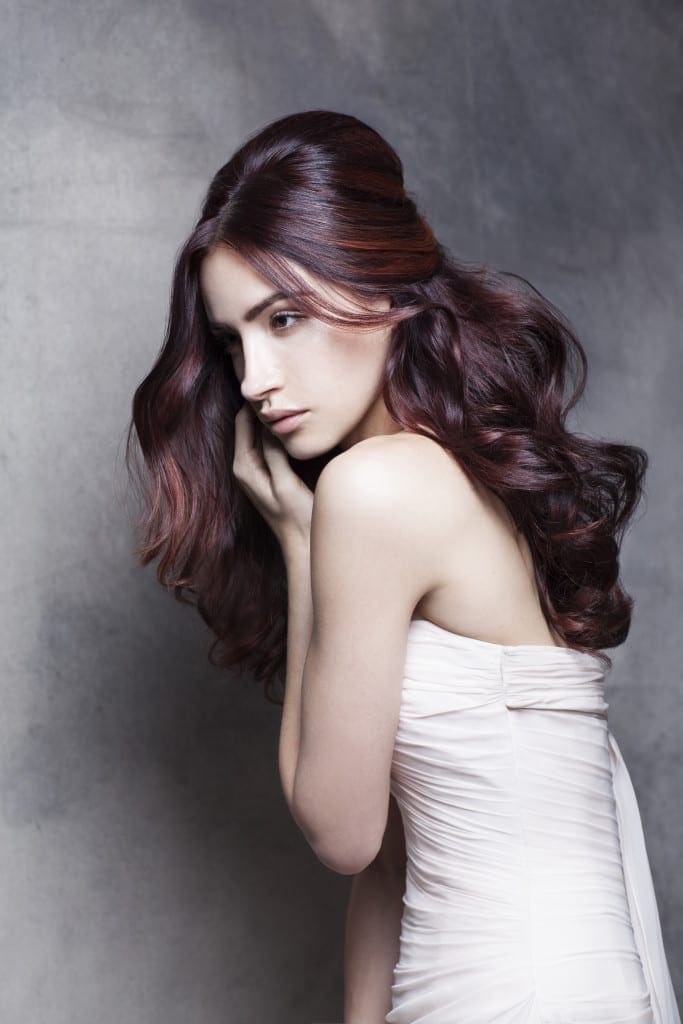

- Blow out hair with a large round brush, leaving the ends smooth. Spray a keratin healing oil spray onto all sections for hold and shine and wrap around curling iron.
- Gently brush out curls and create a middle part.
- Then tease hair at the crown for volume. Drape back 3 to 4 sections of hair, smoothing out the top. Leave desired amount of pieces coming through the front.
- Using hairpins, create a soft pleat with the sections draped backed.
Braided Crown
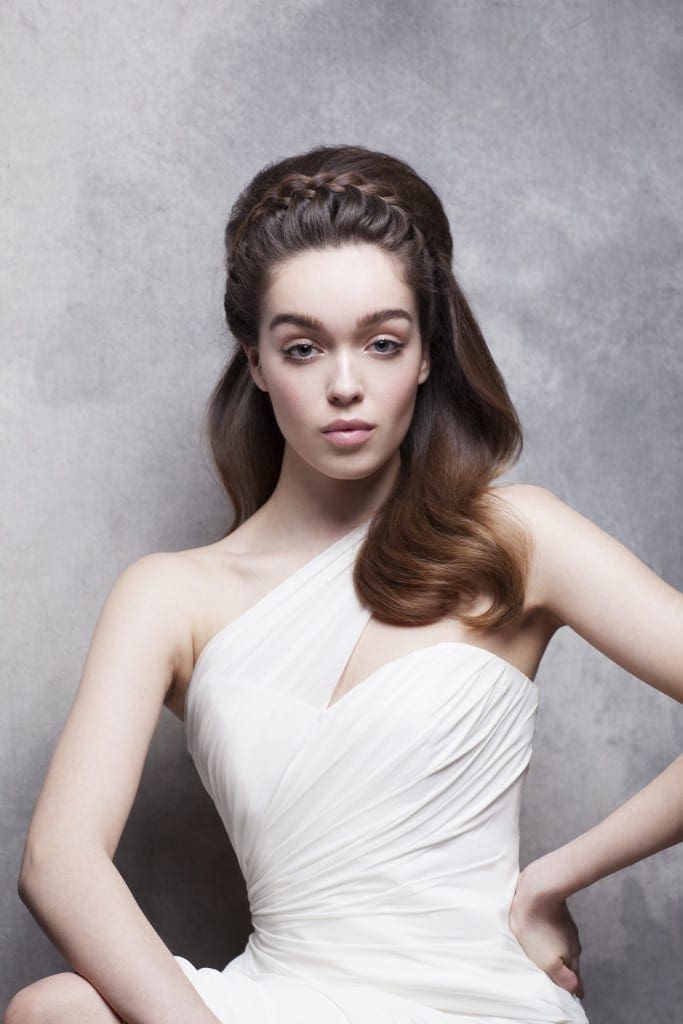

- Set hair by wrapping sections around curling iron and brushing them out.
- Section out hair from ear-to-ear just behind the ear on both sides and clipping the hair behind completely out of the way so you have a clean line to work with.
- Put an oil hair treatment on fingertips for a smooth, clean look. Starting from either side, create a French braid by only picking up pieces from the front of hairline, not from the back. Finish it off with a simple 3-strand braid hiding it under a section of hair just behind your ear and secure it with bobby pins.
- Starting nearest to braid, backcomb gentle sections of hair using L’ANZA Healing Style Powder Up Texturizer for a grip to maintain fullness. Smooth over and drape hair to one shoulder.
All-Up Braid
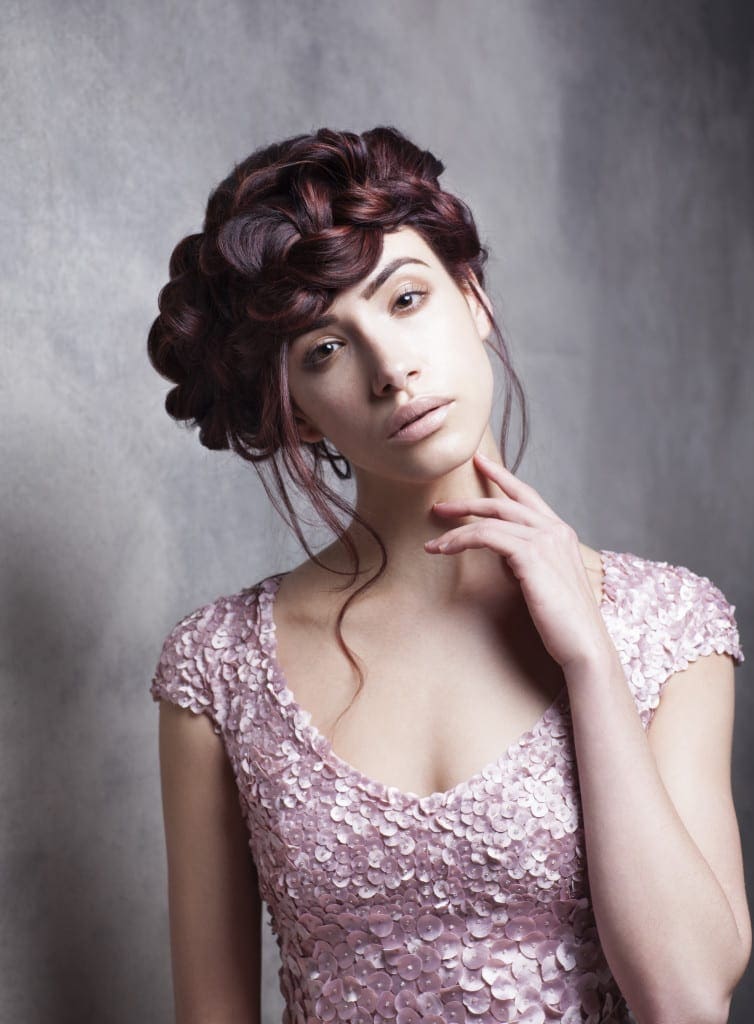

- Start by taking a small, circular section at your crown and twisting it up and out of the way into a knot.
- Start in the back dividing hair in the center, create a French braid that starts on one side at the nape and works its way up to the front towards the side, leaving a few loose pieces out as you get over the ear.
- As you get by the forehead go back and loosen the braid. Once you reach the opposite side of your forehead, stop the French braid and create a regular 3- strand braid.
- Repeat steps for other side.
- You now have two full braids and want to pick one side that goes higher and drapes heavier so that they’re not so symmetrical. Use very few hairpins to secure the braids.
- Go back to the section left out in Step 1, taking it out of the knot and gently backcomb it at the top. Loosely braid all the pieces that are draping over and place them where you split the two sections.
*Use serrated hairpins, not bobby pins for extra grip to secure braids using as few pins as possible.

